

How to Take a Screenshot on iPad :: Taking screenshots on an iPad can be incredibly useful for capturing important information, sharing content, or troubleshooting purposes. In this comprehensive guide, we will walk you through the step-by-step process of taking screenshots on your iPad, ensuring that you can quickly and effortlessly capture anything on your device’s screen. Whether you own an iPad Pro, iPad Air, or iPad Mini, our detailed instructions will help you become an expert at capturing screenshots.
1. Introduction
Screenshots are a powerful tool that allow you to capture and preserve what is displayed on your iPad’s screen. Whether you want to share a memorable moment from a game, save an important document, or seek technical assistance, knowing how to take an iPad screenshot is crucial. Our guide will ensure that you are well-equipped with the knowledge and skills to effortlessly capture screenshots on your iPad.
2. Taking a Screenshot on an iPad
To take a screenshot on your iPad, follow these simple steps:

1. Locate the buttons: Identify the Power button and the Volume Up button on your iPad. The Power button is usually located on the top or right side, while the Volume Up button is on the right side of the device.
2. Prepare the screen: Navigate to the content you want to capture in your screenshot. Make sure everything you want to include is visible on the screen.
3. Simultaneously press the buttons: Press and hold the Power button and the Volume Up button simultaneously. You will hear a distinct sound, similar to a camera shutter, indicating that the screenshot has been successfully captured.
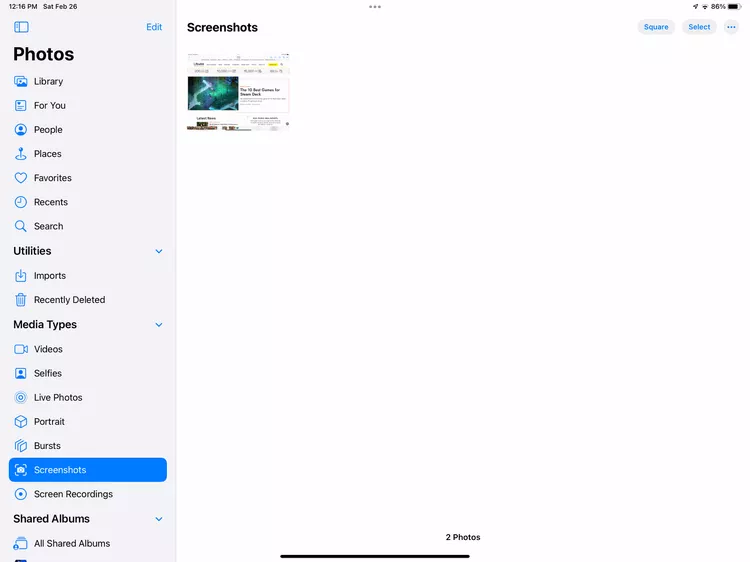
4. Verify the screenshot: A preview of the screenshot will briefly appear at the bottom-left corner of your iPad’s screen. You can tap on it to access the editing and sharing options, or it will automatically save to your device’s Photos app.
3. Capturing the Entire Screen
In most cases, capturing the entire screen is sufficient for your screenshot needs. However, if you want to focus on a specific part of the screen or capture a particular element, such as a single app or a website, you can follow these steps:
1. Position the screen: Navigate to the desired content or app that you want to capture.
2. Take a screenshot: Use the method mentioned in Section 2 to capture the entire screen.
3. Access the screenshot: Once the screenshot preview appears, tap on it to open the editing and sharing options.
4. Crop the screenshot: To focus on a specific part of the screen, tap on the Crop tool (represented by a square icon) in the top-right corner of the screen. Adjust the corners of the selection box to enclose the desired area.
5. Confirm the crop: After making the necessary adjustments, tap on the Done button to crop the screenshot accordingly.
4. Using the iPad’s Markup Tools
The iPad offers a range of powerful Markup tools that allow you to enhance and annotate your screenshots. These tools provide you with the ability to draw, highlight, add text, and even magnify specific areas of your captured image. Follow these steps to utilize the Markup tools:
1. Access the screenshot: Open the screenshot you wish to edit by tapping on the preview that appears after taking the screenshot.
2. Enter Markup mode: In the top-right corner of the screen, tap on the Markup tool (represented by a pencil icon inside a circle).
3. Utilize the tools: You can now select various tools located at the bottom of the screen, such as the Pen tool, Highlighter tool, Text tool, or the Magnifier tool. Experiment with these tools to add annotations, emphasize important details, or clarify specific elements within your screenshot.
4. Save or share your edited screenshot: Once you have made all the desired modifications, tap on the Done button in the top-left corner of the screen. You will be presented with options to save the edited screenshot to your device or share it with others via email, social media, or other compatible apps.
5. Saving and Sharing Your Screenshot
After capturing and editing your screenshot, it’s important to know how to save and share it effectively. Follow these steps to manage your screenshots efficiently:
1. Saving the screenshot: If you are satisfied with the screenshot and do not wish to make any further edits, simply tap on the Done button. The edited screenshot will be automatically saved to your iPad’s Photos app.
2. Sharing options: When you tap on the Done button, you will also be presented with various sharing options. You can choose to send the screenshot via Messages, Mail, AirDrop, or any other compatible app installed on your iPad.
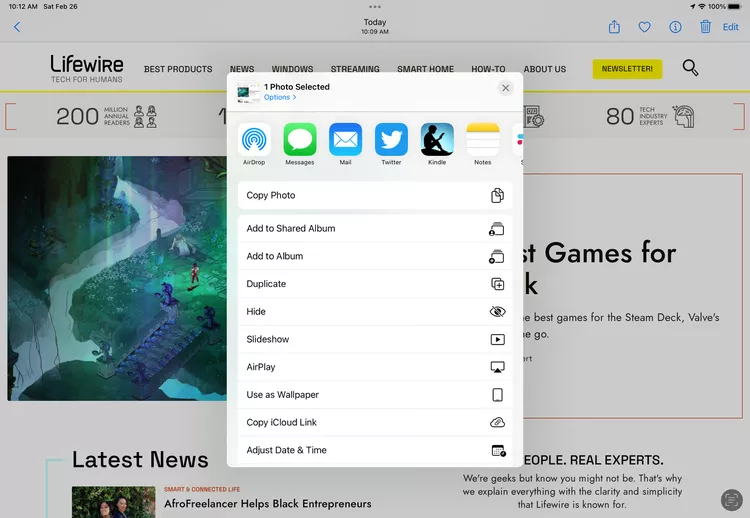
3. Select the sharing method: Depending on your preference, select the appropriate sharing method and follow the prompts to complete the process. If you choose to send the screenshot via email, for instance, you can enter the recipient’s email address, add a subject and message, and then hit send.
6. Troubleshooting Tips
If you encounter any issues or difficulties while taking screenshots on your iPad, try the following troubleshooting tips:
1. Ensure button functionality: Verify that the Power button and Volume Up button on your iPad are functioning properly. If they are unresponsive, you may need to have your device examined by an authorized service center.
2. Check for software updates: Make sure your iPad’s operating system is up to date. Updates can include bug fixes and enhancements that may resolve screenshot-related issues.
3. Restart your iPad: If you are experiencing intermittent issues with capturing screenshots, try restarting your iPad. This can help refresh the device’s system and resolve minor glitches.
4. Seek technical support: If the problem persists, consult the official Apple Support website or contact their customer support for further assistance.
Read More : How to Take a Screenshot on an iPad: The Ultimate Guide
7. Conclusion
Congratulations! You are now equipped with the knowledge to effortlessly capture screenshots on your iPad. By following our comprehensive guide, you have learned how to take screenshots, utilize the Markup tools, save, and share your captured content.
Remember, screenshots are a valuable asset for various purposes, including sharing information, troubleshooting, and archiving important moments. With your newfound expertise, you can take full advantage of this powerful feature on your iPad and enhance your overall user experience.
So, go ahead and capture those memorable moments, save crucial information, or seek assistance confidently. Happy screenshotting!


