

How to Take a Screenshot on an iPad :: Taking a screenshot on iPad has been a core feature since the first generation of Apple’s popular tablet, and for good reason. Whether you’re trying to save an important document, share a funny conversation, or simply keep a record of something inspiring, knowing how to take a screenshot on your iPad is a crucial skill to have.
In this comprehensive guide, we will walk you through the various methods available for taking screenshots on your iPad, so you can quickly and effortlessly capture whatever you need.
Method 1: Using the Physical Buttons
One of the simplest ways to take a screenshot on your iPad is by using the physical buttons on the device. Here’s how you can do it:
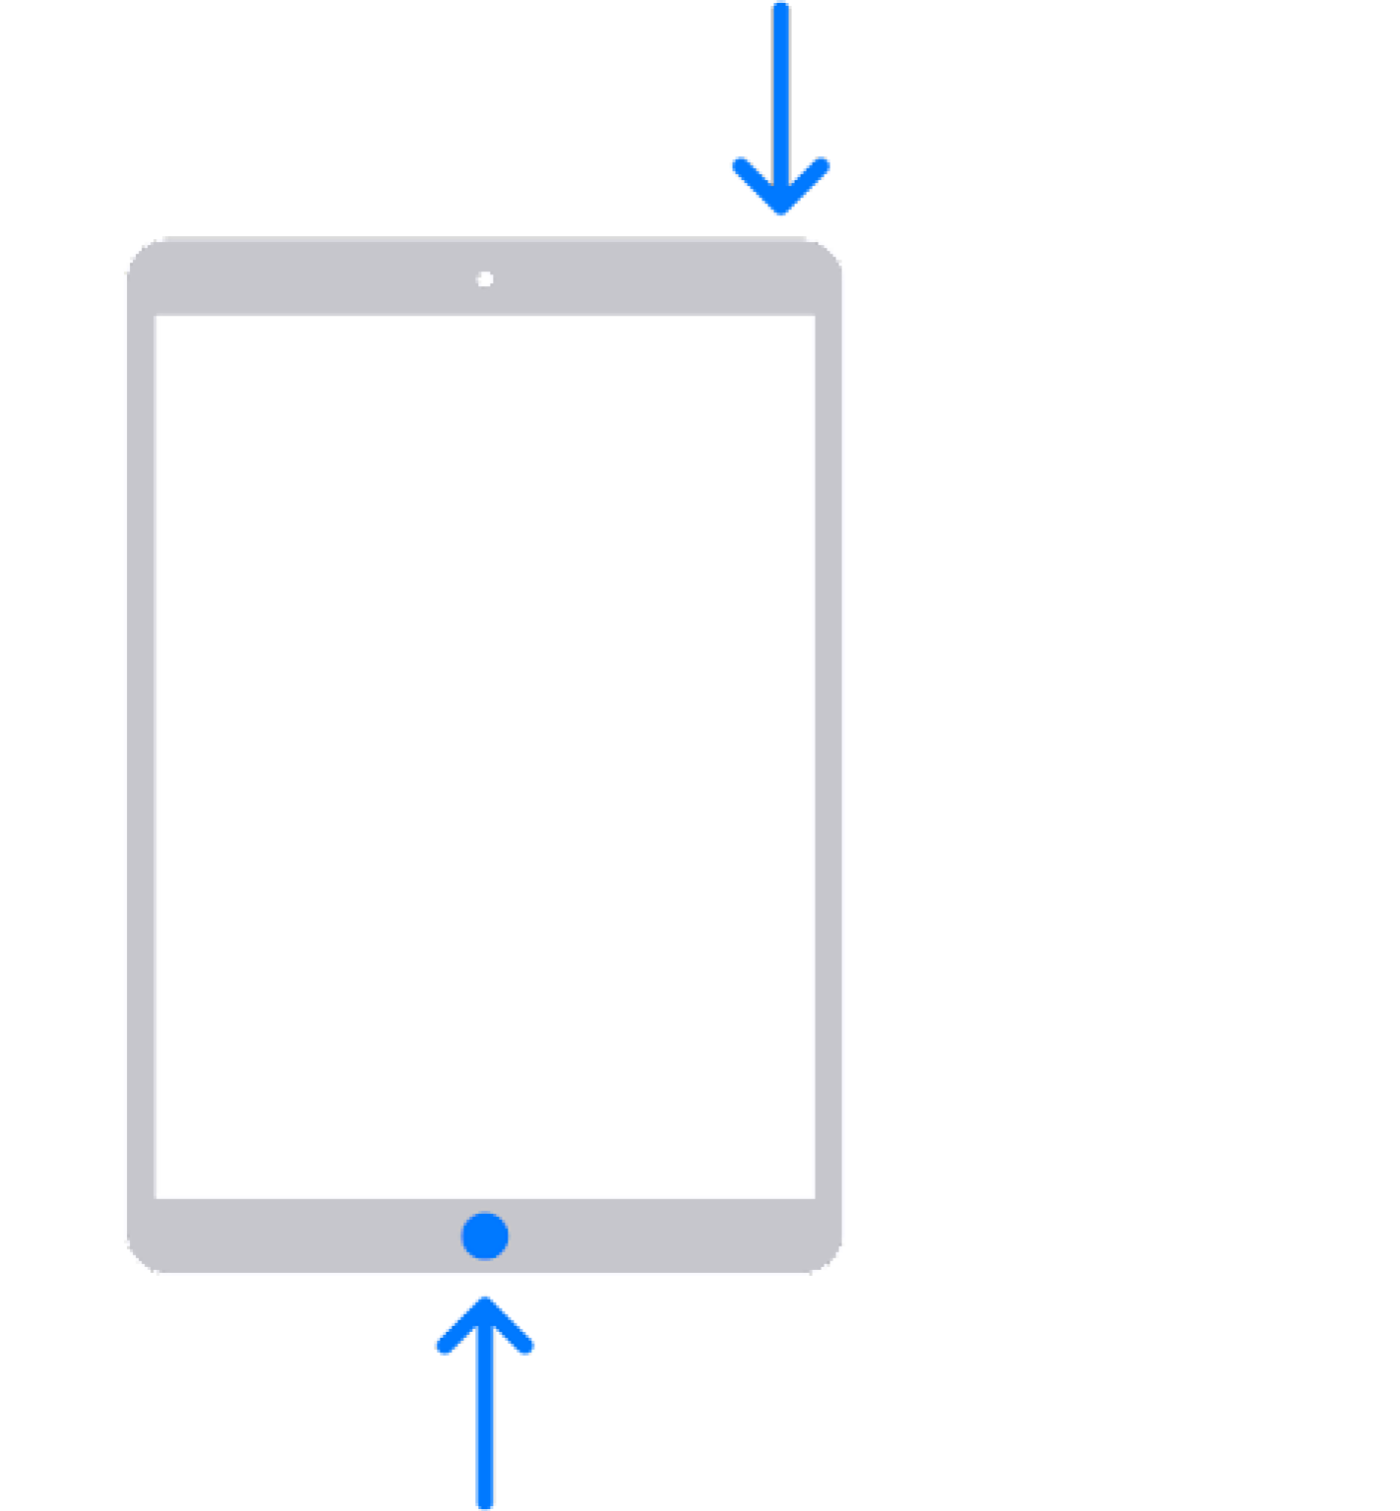
1. Locate the Power button: On most iPad models, you can find the Power button on the top right-hand side or on the right edge of the device.
2. Locate the Home button: If your iPad has a Home button, you can find it at the bottom center of the device.
3. Prepare the screen: Navigate to the screen you want to capture and ensure everything is displayed exactly as you want it in the screenshot.
4. Capture the screenshot: Simultaneously press and release the Power button and the Home button. You will see a quick flash on the screen, indicating that the screenshot has been successfully captured.
Method 2: Using AssistiveTouch
If you find it challenging to press the physical buttons on your iPad, or if your device doesn’t have a Home button, you can use the AssistiveTouch feature to take screenshots. Here’s how to enable and use AssistiveTouch for taking screenshots:
1. Open the Settings app: Locate the Settings app on your iPad’s home screen and tap on it to open.
2. Go to Accessibility settings: In the Settings menu, scroll down and tap on “Accessibility.”
3. Enable AssistiveTouch: Under the “Physical and Motor” section, tap on “AssistiveTouch” and toggle the switch to enable it. You will see a floating button appear on your screen.
4. Customize the AssistiveTouch menu: Tap on “Customize Top Level Menu” and then on the “+” icon. Search for “Screenshot” and select it from the list. This will add the Screenshot option to your AssistiveTouch menu.
5. Capture the screenshot: Whenever you want to take a screenshot, tap on the AssistiveTouch button, select “Screenshot” from the menu, and let your iPad capture the screen.
Method 3: Using the Apple Pencil
If you own an Apple Pencil, you can also use it to take screenshots on your iPad. This method is especially useful for artists, designers, and anyone who frequently uses the Apple Pencil. Follow these steps to capture a screenshot with your Apple Pencil:
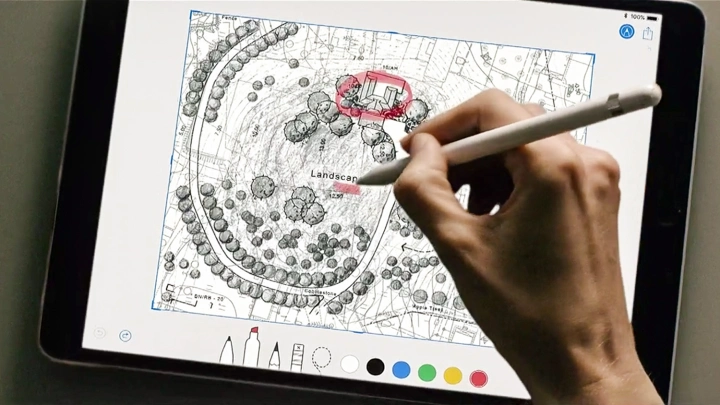
1. Hold the Apple Pencil ready: Ensure that your Apple Pencil is connected and paired with your iPad.
2. Position the Pencil: Hold your Apple Pencil above the screen, just like you would when using it for drawing or writing.
3. Swipe up from the bottom corner: Starting from the bottom left or right corner of the screen, swipe up with your Apple Pencil. This gesture will capture a screenshot of the entire screen.
Method 4: Using the Control Center
For iPads running iOS 12 or later, you can also take screenshots using the Control Center. The Control Center provides quick access to essential settings and features, including the screenshot function. Here’s how to use it:
1. Open the Control Center: Depending on your iPad model, swipe down from the top-right edge (iPad with Face ID) or swipe up from the bottom edge (iPad with a Home button) to access the Control Center.
2. Locate the Screenshot button: In the Control Center, you will see a dedicated Screenshot button represented by a camera icon.
3. Tap on the Screenshot button: Simply tap on the Screenshot button, and your iPad will instantly capture the current screen.
Read More : How to Take a Screenshot on Laptop
Conclusion
Taking screenshots on your iPad is a fundamental skill that can greatly enhance your productivity and enable you to capture and share important information effortlessly. We have covered four different methods for taking screenshots on your iPad, including using the physical buttons, AssistiveTouch, the Apple Pencil, and the Control Center.
With these techniques at your disposal, you have the flexibility to choose the method that suits your preferences and needs the most. Remember to explore the various methods and find the one that feels most comfortable and convenient for you. Experiment with different approaches and embrace the power of capturing and sharing moments with ease on your iPad.


