

How to Copy and Paste Pictures on Macbook Air ::In this comprehensive guide, we will walk you through the process of efficiently copy and paste pictures on your MacBook Air. Whether you’re a tech-savvy professional or a beginner, we’ve got you covered.
Our step-by-step instructions and expert tips will empower you to seamlessly handle your visual content, saving you time and effort. Say goodbye to cumbersome workarounds and embrace the ease and convenience of picture copying and pasting on your MacBook Air.
Understanding the Basics
Before we delve into the nitty-gritty details, let’s start with the fundamental concepts of copying and pasting pictures on a MacBook Air.
What is Copy and Paste?
Copy and paste is a fundamental function that allows you to duplicate and transfer content from one location to another. When it comes to pictures, copying refers to making an exact duplicate of an image, while pasting involves placing the copied image into a new or existing file.
The Power of Keyboard Shortcuts
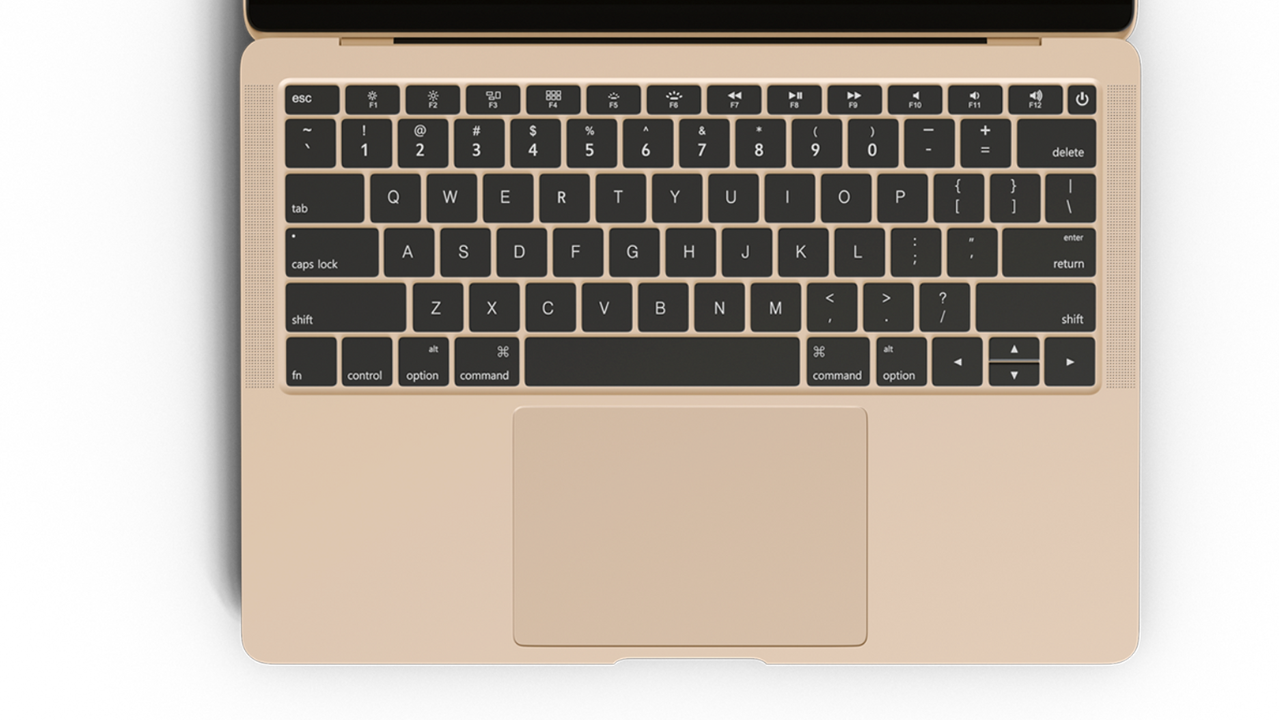
Efficiency is key when it comes to copy and paste operations. Familiarizing yourself with essential keyboard shortcuts can significantly enhance your workflow. Here are some vital shortcuts to remember:
– Command + C: Use this shortcut to copy the selected picture.
– Command + V: This shortcut pastes the copied picture into the desired location.
Step-by-Step Guide: How to Copy and Paste Pictures on MacBook Air
Now that you have a solid grasp of the basics, let’s dive into the step-by-step process of copying and pasting pictures on your MacBook Air.
Step 1: Selecting the Picture
To initiate the copying process, you need to select the picture you want to copy. Follow these steps:
1. Open the Finder application by clicking on the magnifying glass icon located on the Dock.
2. Navigate to the folder or location where the picture is stored.
3. Click once on the picture to select it.
Step 2: Copying the Picture
Once you’ve selected the desired picture, it’s time to make a copy of it. Follow these simple instructions:
1. With the picture selected, press the Command + C shortcut on your keyboard. Alternatively, you can right-click on the picture and select “Copy” from the context menu.
Step 3: Pasting the Picture
Now that you have copied the picture, it’s time to paste it into your desired location. Follow these steps:
1. Navigate to the destination where you want to paste the picture, such as a document, email, or image editor.
2. Position your cursor at the desired insertion point.
3. Press the Command + V shortcut on your keyboard. Alternatively, right-click and choose “Paste” from the context menu.

Expert Tips for Efficient Picture Copying and Pasting
To take your picture copying and pasting skills to the next level, here are some expert tips:
1. Optimizing Image Size: Before copying and pasting pictures, consider resizing them if necessary. Large images can consume significant storage space and may slow down your workflow.
2. Organize Your Pictures: Keep your picture library well-organized to easily locate and select the desired images.
3. Utilize Drag and Drop: Instead of relying solely on keyboard shortcuts, explore the convenience of drag and drop functionality. Simply select the picture and drag it to the desired destination.
Read More : How to Cut File in Mac: A comprehensive Guide for Mac Users
Conclusion
Congratulations! You’ve now mastered the art of copying and pasting pictures on your MacBook Air. By following our comprehensive guide and leveraging expert tips, you
can streamline your workflow and save valuable time. Whether you’re creating presentations, enhancing documents, or simply organizing your visual content, efficient picture copying and pasting is a skill that will serve you well. Embrace the power of keyboard shortcuts, optimize your image library, and enjoy a seamless experience on your MacBook Air.


