

Where do Screenshots Go Mac :: Welcome to our comprehensive guide on managing screenshots on Mac. As avid Mac users, we understand the importance of capturing and organizing screenshots efficiently. In this article, we will provide you with detailed insights on where screenshots are saved by default on Mac and offer tips on customizing their destination. Additionally, we’ll share useful techniques for organizing and accessing your screenshots effortlessly. Let’s dive in!
Where Do Screenshots Go on Mac?
When you capture a screenshot on your Mac, it is automatically saved to the desktop by default. The screenshot file is usually named with a prefix “Screen Shot” followed by the date and time of capture. For example, “Screen Shot 2023-06-09 at 10.30.45 AM.png”. This default location ensures quick access to your screenshots, but it can quickly clutter your desktop if not managed properly.
Customizing Screenshot Destination
To keep your desktop clutter-free and better organize your screenshots, you can customize the destination folder. Follow these steps to change the default location:
1. Open the Terminal application on your Mac. You can find it in the Utilities folder within the Applications folder or quickly access it using Spotlight (Command + Space, then type “Terminal”).
2. Once the Terminal window is open, type the following command and press Enter:
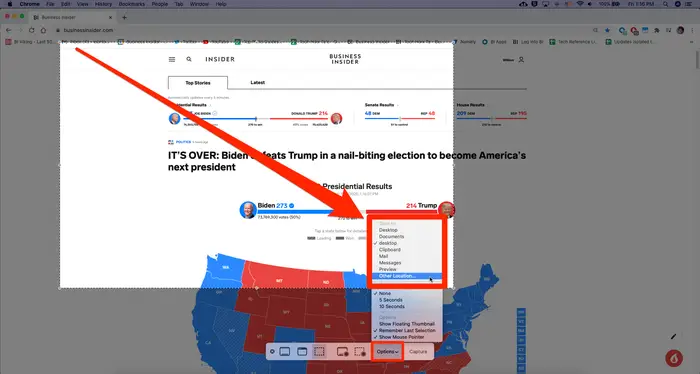
defaults write com.apple.screencapture location /path/to/your/folderReplace “/path/to/your/folder” with the desired location where you want your screenshots to be saved. For example:
defaults write com.apple.screencapture location ~/Documents/ScreenshotsThis command sets the new folder “Screenshots” within the “Documents” folder as the destination for your screenshots.
3. After entering the command, restart the SystemUIServer process by typing the following command and pressing Enter:
killall SystemUIServer
Now, when you capture a screenshot, it will be saved to the specified folder instead of the desktop, providing a more organized approach to managing your screenshots.
Organizing and Accessing Screenshots
As your collection of screenshots grows, it’s essential to have a system in place to keep them organized. Here are some tips to help you maintain a well-structured screenshot library:
Creating Subfolders
Consider creating subfolders within your designated screenshot folder to categorize and group related screenshots. For example, you could have separate folders for work-related screenshots, personal projects, or specific topics.
Renaming Screenshots
To quickly identify and locate specific screenshots, it’s beneficial to rename them with descriptive names. Right-click on a screenshot file and select “Rename” to give it a meaningful and relevant title.
Utilizing Tags
Tags are a powerful organizational tool on Mac that allows you to assign keywords to files and easily search for them using the Finder. Apply relevant tags to your screenshots, such as “work,” “design,” or “ideas,” to streamline the search process.
Backing Up Your Screenshots
Regularly backing up your screenshot collection is crucial to prevent any loss of valuable data. Consider using cloud storage services or external hard drives to create backups and ensure the safety of your screenshots.
Advanced Tips for Screenshot Management
To further optimize your screenshot management, here are some advanced tips:

Utilizing Automator
Mac’s Automator app allows you to automate tasks, including organizing your screenshots. You can create a workflow that automatically moves screenshots from the default location to specific folders based on predefined criteria. Exploring Automator can significantly enhance your screenshot management workflow.
Using Third-Party Apps
Several third-party apps are available that offer advanced features for organizing and managing screenshots on Mac. These apps provide additional functionalities like annotation, image editing, and cloud syncing. Explore options such as CleanShot, Snagit, or Lightshot to find the app that best suits your needs.
Keyboard Shortcuts
Mac offers built-in keyboard shortcuts to capture screenshots swiftly. Familiarize yourself with these shortcuts to increase efficiency in capturing and managing your screenshots. Some commonly used shortcuts include Command + Shift + 3 (captures the entire screen) and Command + Shift + 4 (allows you to select a specific portion of the screen).
Read More : How to Copy in Mac: A Guide for Mac Users
Conclusion
Efficiently managing screenshots on your Mac is essential for productivity and organization. In this guide, we have explored where screenshots are saved by default on Mac and provided you with detailed instructions on customizing their destination.
Additionally, we shared tips on organizing and accessing your screenshots, along with advanced techniques for streamlining your workflow. By implementing these practices, you can optimize your screenshot management and maintain a well-structured collection. Start leveraging these strategies today and take control of your Mac screenshots!


