

Screenshot Windows :: Welcome to our comprehensive guide on how to take a screenshot on Windows! In this article, we will walk you through various methods to capture screenshots on your Windows computer with ease. Whether you’re a tech-savvy professional or a casual user, we’ve got you covered. Say goodbye to the frustration of not knowing how to capture that important image or moment on your screen. Let’s dive right in!
Prerequisites
Before we get started, ensure that you have a Windows computer up and running. The methods we’ll discuss here are compatible with various versions of Windows, including Windows 10, Windows 8, and Windows 7. Now, let’s explore the different techniques for taking screenshots!
Method 1: Using the Print Screen Key
The Print Screen key is a classic method to capture screenshots on Windows. Follow these steps:
1. Locate the Print Screen (PrtScn) key on your keyboard. It is usually found in the upper-right corner.
2. Press the Print Screen key once to capture the entire screen.
3. Open an image editor or a document where you want to paste the screenshot.
4. Press Ctrl + V or right-click and select Paste to insert the screenshot.
Method 2: Snipping Tool
Windows comes with a built-in tool called the Snipping Tool, which provides more flexibility in capturing screenshots. Here’s how to use it:
1. Press the Windows key on your keyboard.
2. Type “Snipping Tool” and open the application.
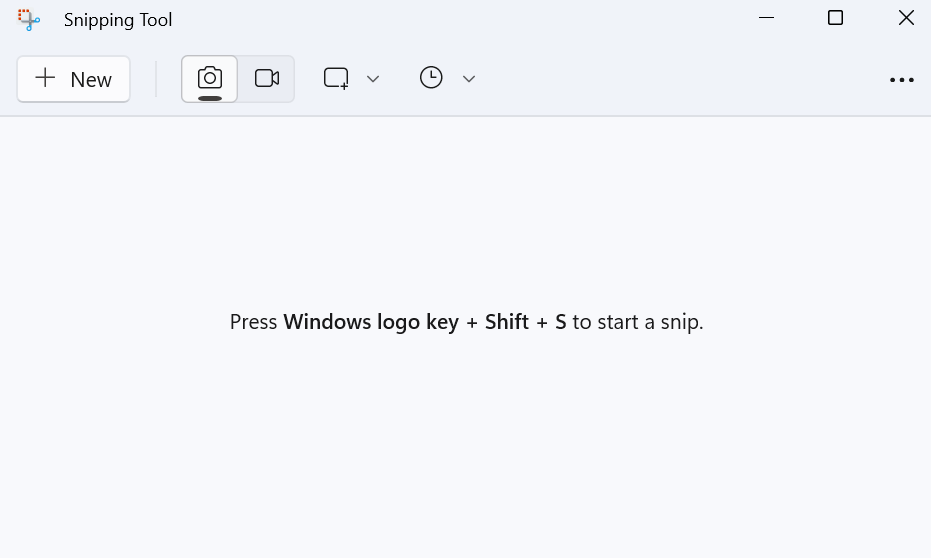
3. Click on “New” to initiate a screenshot.
4. Choose the desired snip type (Rectangular, Freeform, Window, or Full-screen).
5. Use the cursor to select the area you want to capture.
6. Release the mouse button to take the screenshot.
7. Save the screenshot in your preferred location.
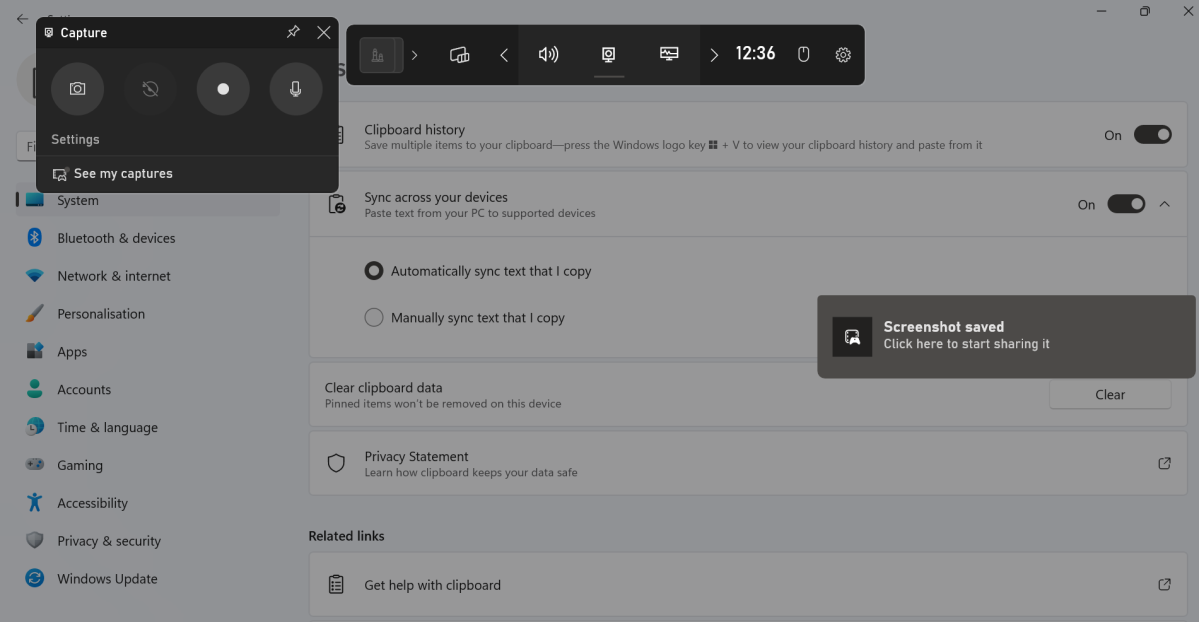
Method 3: Snip & Sketch
In newer versions of Windows 10, Microsoft has introduced Snip & Sketch as a replacement for the Snipping Tool. It offers a more modern and intuitive interface. Follow these steps:
1. Press the Windows key + Shift + S to open Snip & Sketch.
2. The screen will dim, and the Snip & Sketch toolbar will appear at the top of the screen.

3. Select the snip type you want (Rectangular, Freeform, Window, or Full-screen).
4. Use the cursor to choose the desired area for the screenshot.
5. The screenshot will be copied to the clipboard automatically.
6. Paste the screenshot into an image editor or document.
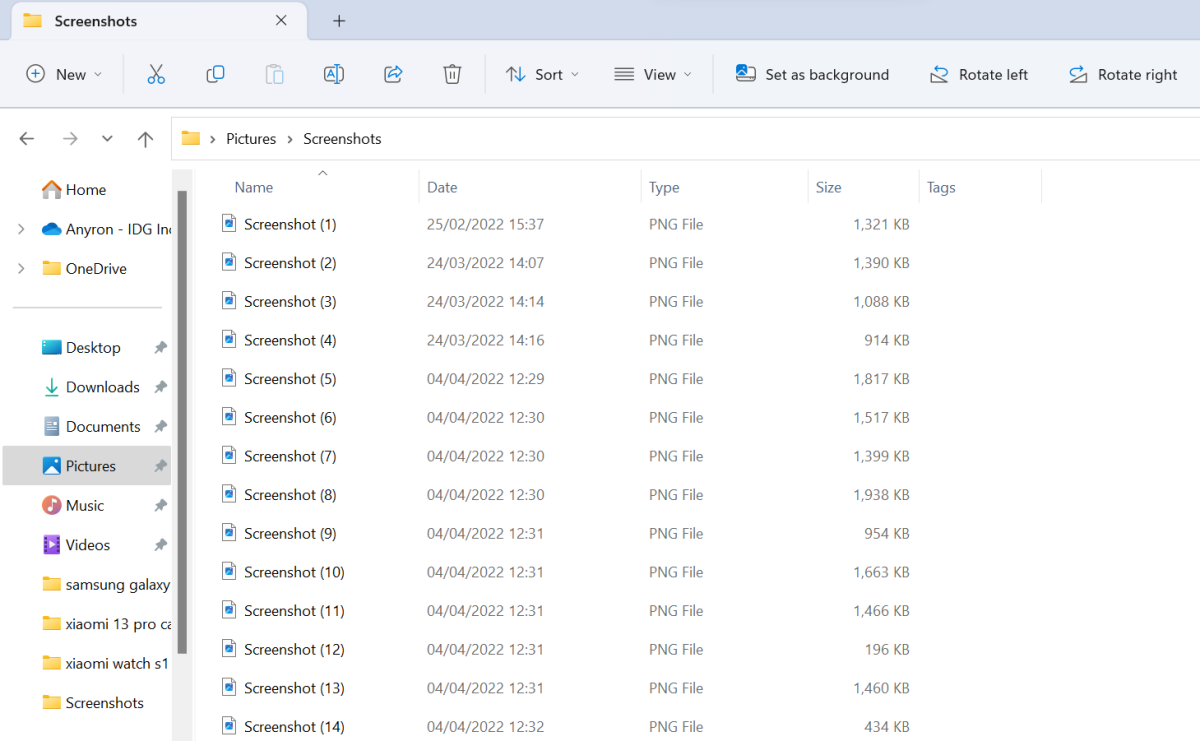
Method 4: Windows Key + Print Screen
Another convenient way to capture screenshots on Windows is by using the Windows key in combination with the Print Screen key. Here’s how it works:
1. Press the Windows key + Print Screen simultaneously.
2. Your screen will briefly dim, indicating that the screenshot has been taken.
3. The screenshot is automatically saved to the “Screenshots” folder in your Pictures library.
Method 5: Game Bar
If you’re a gamer or need to capture screenshots while playing games, the Game Bar feature in Windows can come in handy. Follow these steps:
1. While in the game or application, press the Windows key + G to open the Game Bar.
2. Click on the camera icon in the toolbar to take a screenshot.
3. The screenshot will be saved to the “Captures” folder in your Videos library.
Method 6: Third-Party Software
If the built-in methods don’t meet your requirements, there are several third-party software options available for capturing screenshots on Windows. Some popular choices include Snagit, Greenshot, and Lightshot. Explore these tools to find the one that suits your needs best.
Read More : Screen Recorder for Mac: The Step-by-Step Guide
Conclusion
Congratulations! You have now learned multiple methods to capture screenshots on your Windows computer. Whether you prefer using the classic Print Screen key, the versatile Snipping Tool, or the modern Snip & Sketch, you have a range of options at your disposal.
Choose the method that works best for you based on your preferences and requirements. With this newfound knowledge, you’ll never miss an opportunity to capture and share important information from your screen. Happy screenshotting!
Remember, capturing high-quality screenshots is just one aspect of optimizing your online experience. If you’d like to further enhance your computer skills or explore other Windows-related topics, feel free to explore our website for more insightful guides and tutorials.


