Macbook Pro Screenshot :: Welcome to our comprehensive guide on how to capture screenshots on Mac. We understand the importance of efficiently capturing and sharing screenshots, whether it’s for professional or personal use.
In this article, we will walk you through various methods and techniques to help you capture screenshots effortlessly on your Mac device. By following these step-by-step instructions, you will become a master of screenshotting in no time!
1. Prerequisites
Before we dive into the various methods of capturing screenshots on your Mac, make sure you have the following prerequisites:
– A Mac device (iMac, MacBook, etc.) running macOS.
– Familiarity with basic keyboard functions.
– A desire to streamline your screenshotting workflow.
Now that you’re equipped with the essentials, let’s move on to the first method!
2. Method 1: Using Keyboard Shortcuts
Mac provides convenient keyboard shortcuts that allow you to capture screenshots quickly. Here’s how you can leverage these shortcuts for different types of screenshot capture:

2.1 Capturing the Entire Screen
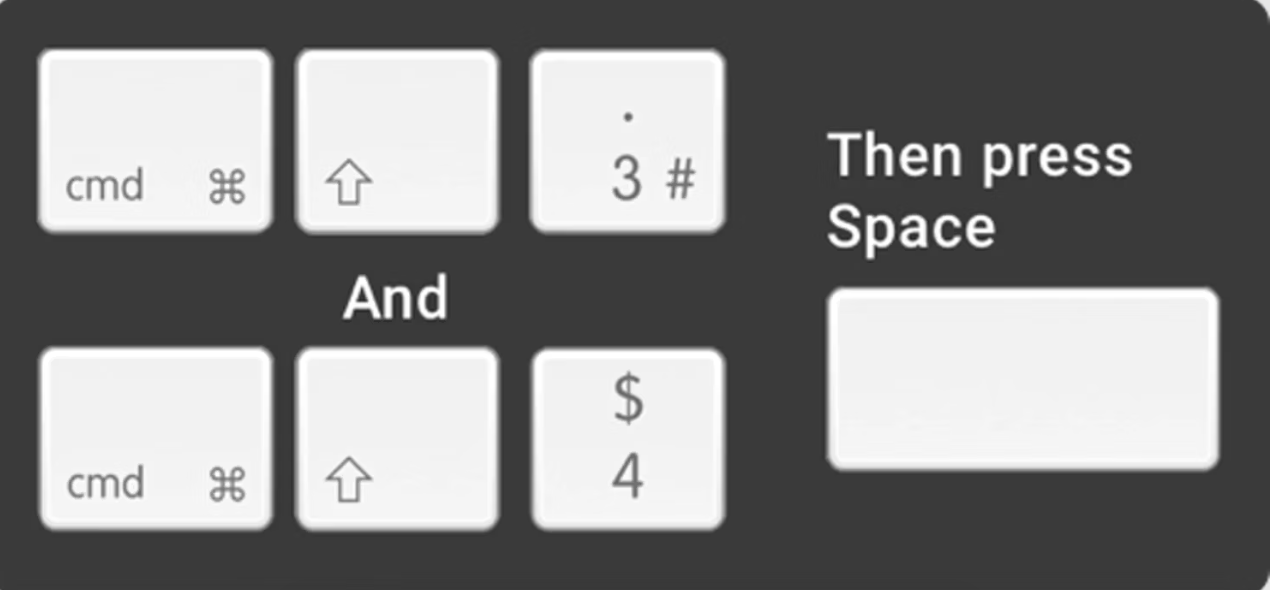
To capture the entire screen, press the following keys simultaneously: ⌘ Command + ⇧ Shift + 3
2.2 Capturing a Specific Window
If you only want to capture a specific window, follow these steps:
1. Ensure the window you want to capture is active.
2. Press the following keys simultaneously: ⌘ Command + ⇧ Shift + 4
3. Your cursor will turn into a crosshair.
4. Move the crosshair to the window you wish to capture.
5. Click the window to take the screenshot.
2.3 Capturing a Custom Area
For capturing a custom area, perform the following steps:
1. Press the following keys simultaneously: ⌘ Command + ⇧ Shift + 4
2. Your cursor will turn into a crosshair.
3. Click and drag to select the desired area you want to capture.
4. Release the mouse button to take the screenshot.
Now that you have a grasp of the keyboard shortcuts, let’s explore an alternative method using the Screenshot App.
3. Method 2: Utilizing the Screenshot App
Apple introduced the Screenshot App in macOS Mojave and later versions, offering a user-friendly interface for capturing and editing screenshots. Let’s delve into the details:
3.1 An Overview of the Screenshot App
The Screenshot App provides a comprehensive set of tools for capturing and managing your screenshots. To access the app, follow these steps:
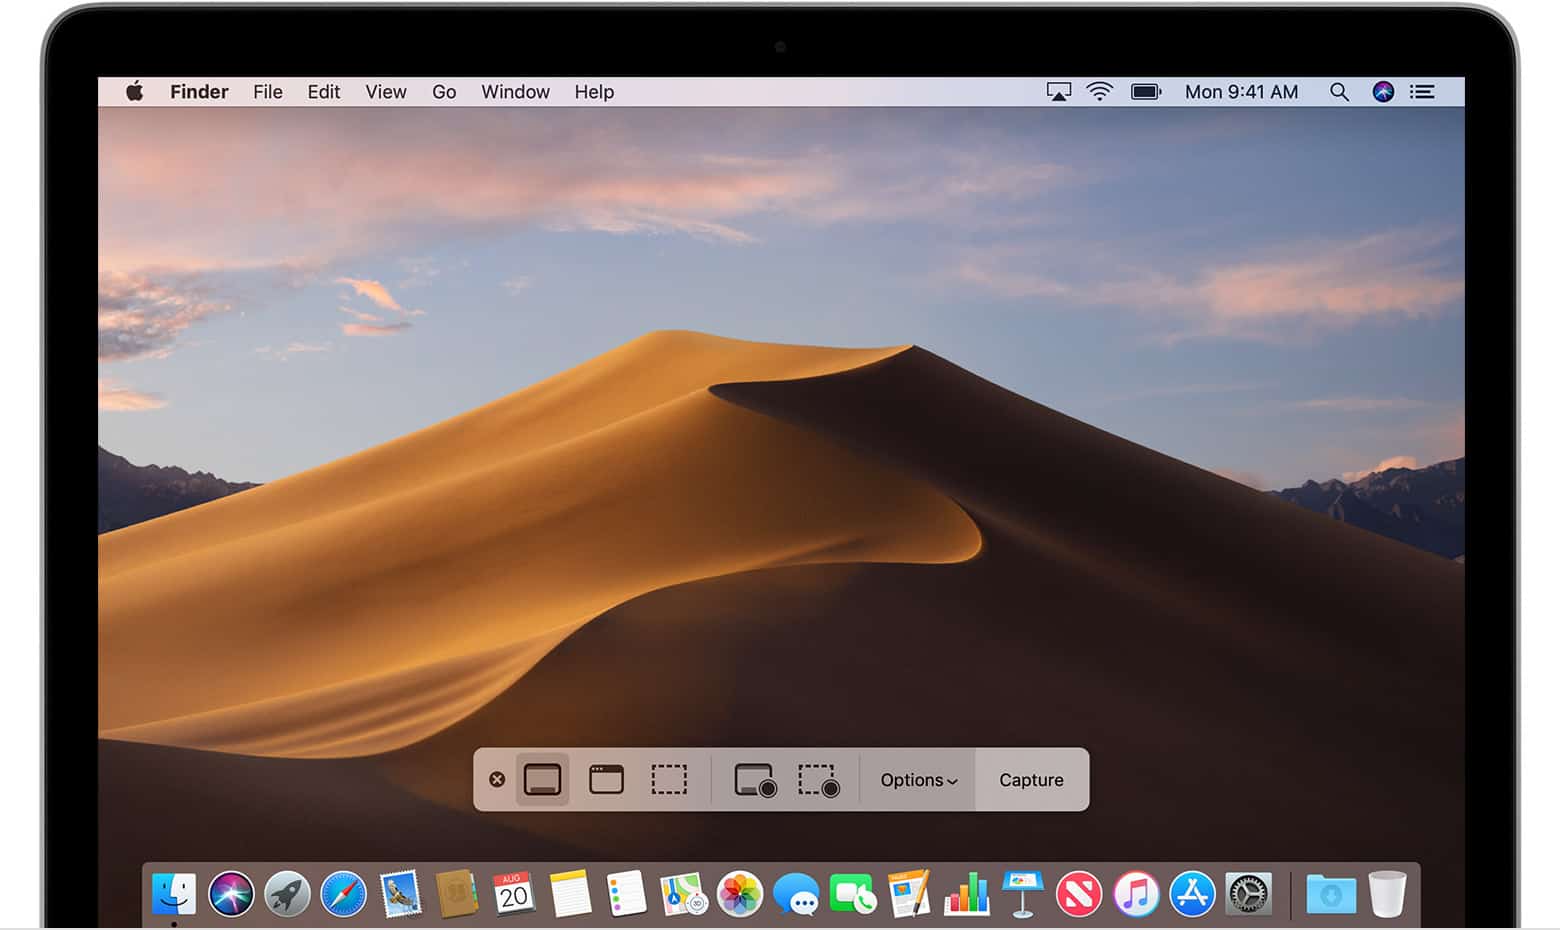
1. Press the following keys simultaneously: ⌘ Command + ⇧ Shift + 5
2. The Screenshot App interface will appear at the bottom of the screen.
3.2 Capturing Screenshots with the Screenshot App
Once you have the Screenshot App open, you can choose from various screenshot options, including:
– Capturing the entire screen.
– Capturing a specific window.
– Capturing a custom area.
– Recording the screen.
To capture a screenshot using the Screenshot App, follow these steps:
1. Select the desired capture option from the app interface.
2. Customize additional settings, such as timer delay or choosing a save location.
3. Click the “Capture” button or use the specified keyboard shortcut.
4. Method 3: Taking Screenshots with Preview
Another versatile tool at your disposal is the Preview app, which not only allows you to view images but also capture screenshots. Let’s explore how to utilize Preview for screenshotting:
4.1 Launching Preview
To launch the Preview app, follow these simple steps:
1. Open the “Applications” folder.
2. Locate and double-click on the “Preview” app icon.
4.2 Using Preview to Capture Screenshots
Once you have Preview open, you can capture screenshots using the following steps:
1. Go to the “File” menu in the menu bar.
2. Click on “Take Screenshot” and choose the desired screenshot option.
Preview offers options for capturing the entire screen, capturing a selected portion, or capturing a specific window.
5. Method 4: Grab Utility for Advanced Screenshots
For users seeking advanced screenshot features, Mac provides a built-in utility called Grab. Let’s explore how you can use Grab to capture screenshots:
5.1 Opening Grab Utility
To open the Grab utility, follow these steps:
1. Go to the “Applications” folder.
2. Navigate to the “Utilities” folder.
3. Locate and open the “Grab” app.
5.2 Capturing Screenshots with Grab Utility
Once you have Grab open, you can choose from different screenshot options, including capturing the entire screen, capturing a specific window, or capturing a selected portion. Here’s how:
1. Go to the “Capture” menu in the menu bar.
2. Choose the desired screenshot option.
3. Follow the on-screen instructions to capture the screenshot.
6. Comparing the Different Methods
Now that we’ve explored four different methods of capturing screenshots on your Mac, let’s compare them briefly:
| Method | Pros | Cons |
|---|---|---|
| Keyboard Shortcuts | Quick and easy | Limited customization options |
| Screenshot App | User-friendly interface | Availability limited to macOS Mojave and later |
| Preview | Versatile tool for image viewing | Fewer options compared to other methods |
| Grab Utility | Advanced features and customization | Additional steps to open Grab utility |
Choose the method that best suits your requirements and workflow preferences.
7. Editing and Enhancing Screenshots
Once you’ve captured a screenshot, you may want to make some edits or enhancements. Mac provides various built-in tools for this purpose, including:
– Markup tools in Preview and the Screenshot App.
– Third-party image editing applications like Adobe Photoshop or Pixelmator.
Feel free to explore these tools to annotate, crop, resize, or add annotations to your screenshots, making them more informative and visually appealing.
8. Sharing Screenshots
Sharing your screenshots with others is crucial, and Mac offers several ways to accomplish this:
– Attaching screenshots to emails or messages.
– Uploading them to cloud storage services like Dropbox or Google Drive.
– Sharing via social media platforms such as Twitter or Instagram.
Select the method that suits your preference and enables easy sharing of your captured screenshots.
9. Troubleshooting Tips
If you encounter any issues while capturing screenshots on your Mac, here are some troubleshooting tips to help you out:
– Restart your Mac device and try again.
– Update your macOS to the latest version.
– Reset the Screenshot App preferences by going to “System Preferences” > “Keyboard” > “Shortcuts” > “Screen Shots.”
– Consult Apple Support or relevant online forums for further assistance.
Read More : How to Take a Screenshot on Your PC Like a Pro
10. Conclusion
Congratulations! You have now mastered the art of capturing screenshots on your Mac device. We have explored various methods, including keyboard shortcuts, the Screenshot App, Preview, and Grab utility. Additionally, we discussed editing, enhancing, and sharing your screenshots effortlessly.
Remember, the ability to capture and share screenshots efficiently is an invaluable skill in today’s digital age. Whether you’re showcasing work-related content, creating tutorials, or simply preserving precious moments, our comprehensive guide has equipped you with the necessary knowledge to succeed.
Happy screenshotting!


