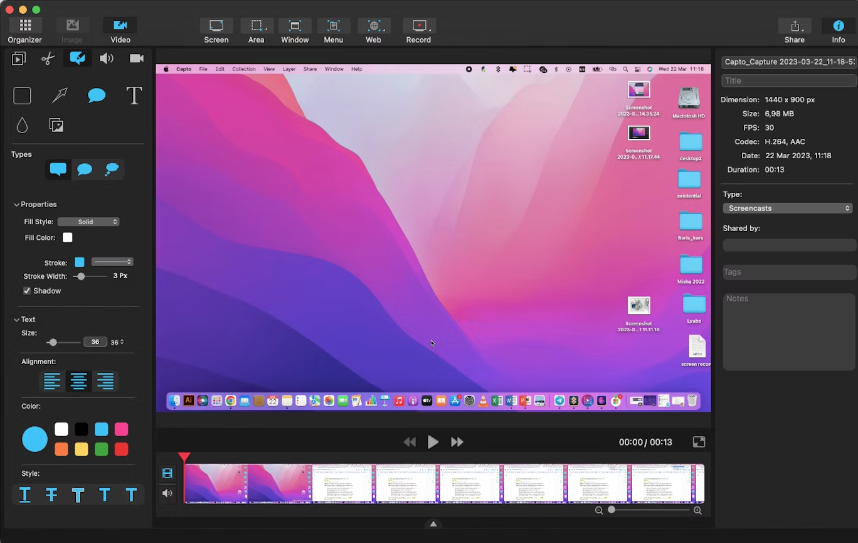
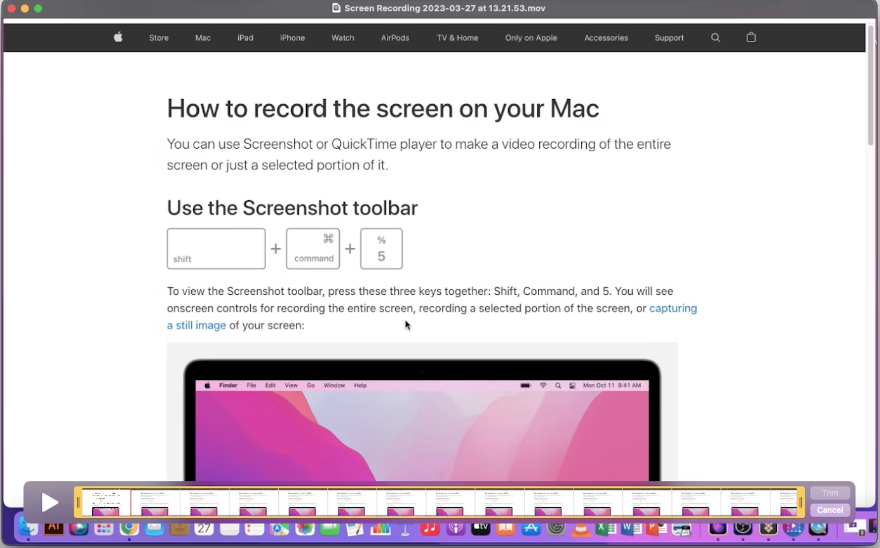
Mac Screen Record :: Welcome to our comprehensive guide on how to screen record on Mac. Screen recording on Mac allows you to capture and share your screen activity, making it an invaluable tool for creating tutorials, demonstrations, gaming videos, and more.
In this guide, we will walk you through the step-by-step process of screen recording on your Mac, providing you with all the information you need to get started. Let’s dive right in!
Step 1: Accessing the Screen Recording Feature

To begin screen recording on your Mac, you’ll first need to access the built-in screen recording feature. Follow these simple steps:
1. Launch the “Finder” application, located in your dock.
2. Navigate to the “Applications” folder and open the “QuickTime Player” app.
Step 2: Initiating a New Screen Recording
Once you have opened QuickTime Player, it’s time to initiate a new screen recording. Here’s how you can do it:
1. Click on the “File” menu in the menu bar at the top of your screen.
2. Select the “New Screen Recording” option from the drop-down menu.
Step 3: Configuring Screen Recording Settings
Before you start recording, it’s important to configure the screen recording settings according to your preferences. QuickTime Player provides various options to customize your recording. Here are some key settings you can adjust:
– Microphone: If you wish to include audio narration or commentary along with your screen recording, click on the arrow next to the record button and select your desired microphone input.
– Quality: You can choose the desired quality for your screen recording by clicking on the drop-down menu next to the record button and selecting a quality option that suits your needs.
– Screen Selection: If you want to record a specific portion of your screen, rather than the entire screen, click anywhere on the screen to select the recording area.
Step 4: Recording Your Screen

Now that you have configured the settings, it’s time to start recording your screen. Follow these steps to begin the screen recording:
1. Click on the record button, which looks like a solid circle, to start the recording.
2. If you have chosen to record a specific portion of your screen, click and drag to select the desired area.
3. Once you have selected the recording area, click on the “Start Recording” button in the center of the selected area.
Step 5: Pausing and Stopping the Recording
During your screen recording session, you may need to pause or stop the recording at certain points. Here’s how you can do it:
– Pause Recording: To temporarily pause the recording, click on the “Pause” button that appears in the menu bar at the top of your screen. To resume the recording, click on the “Resume” button.
– Stop Recording: When you have finished recording, click on the “Stop” button that appears in the menu bar. A preview of your recorded screen activity will automatically appear.
Step 6: Saving and Exporting Your Recording
Once you have completed your screen recording, it’s time to save and export the recorded video file. Here’s what you need to do:
1. Click on the “File” menu in the menu bar.
2. Select the “Save” option to save the recording to your desired location on your Mac.
3. Choose a file name and select the video format you prefer.
4. Click the “Save” button to save the recorded video.
Congratulations! You have successfully screen recorded on your Mac using QuickTime Player. Now you can edit, share, or upload your recorded videos as per your requirements.
Read More : How to Screen Print on Windows : A Guide
Conclusion
Screen recording on Mac using Quick Time Player is a straightforward and powerful way to capture and share your screen activities. Whether you need to create tutorials, record gameplay, or demonstrate a process, the built-in screen recording feature provides you with the necessary tools.
By following the step-by-step instructions provided in this guide, you can easily screen record on your Mac and create high-quality videos. Start exploring the endless possibilities of screen recording on your Mac today!


