

How to Take a Screenshot on Laptop :: In this comprehensive guide, we will walk you through the step-by-step process of taking a screenshot on a laptop running either Windows or Mac OS. Whether you need to capture an important moment on your screen, save an error message, or create a tutorial, knowing how to take screenshots is an essential skill. We will cover various methods for both operating systems, ensuring that you have all the information you need to capture screenshots effortlessly. Let’s dive in!
1. Prerequisites
Before we delve into the different methods, let’s ensure that you have everything you need:
– A laptop running either Windows or Mac OS
– Basic familiarity with the keyboard and operating system
Now, let’s explore the various ways to capture screenshots on your laptop.
2. How to Take a Screenshot on Windows
Method 1: Using the Print Screen Key
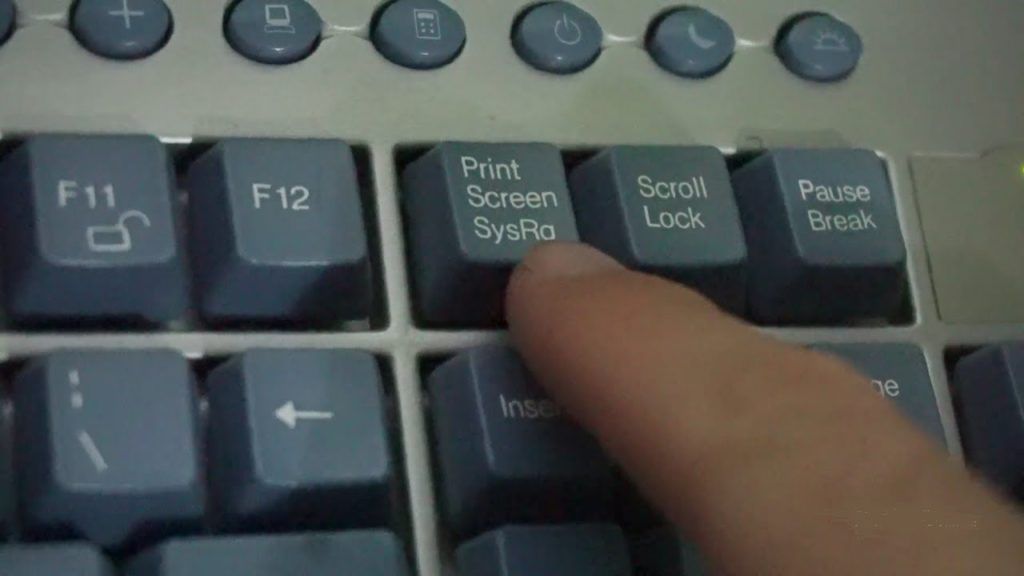
The Print Screen key, often labeled as “PrtSc” or “PrtScn,” is a handy shortcut for taking screenshots on Windows laptops. To use this method, follow these steps:
1. Identify the Print Screen key on your keyboard. It is typically located in the top-right section, along with the function keys.
2. Ensure that the screen you want to capture is visible.
3. Press the Print Screen key. This will copy a screenshot of the entire screen to your clipboard.
4. Open an image editing software, such as Paint, Photoshop, or MS Word.
5. Paste the screenshot into the software by pressing “Ctrl + V” or right-clicking and selecting “Paste.”
6. Edit the screenshot if desired, and save it to your preferred location.
Method 2: Snipping Tool
Windows also offers the Snipping Tool, a built-in screenshot utility that provides more flexibility for capturing specific areas of your screen. To use the Snipping Tool, follow these steps:
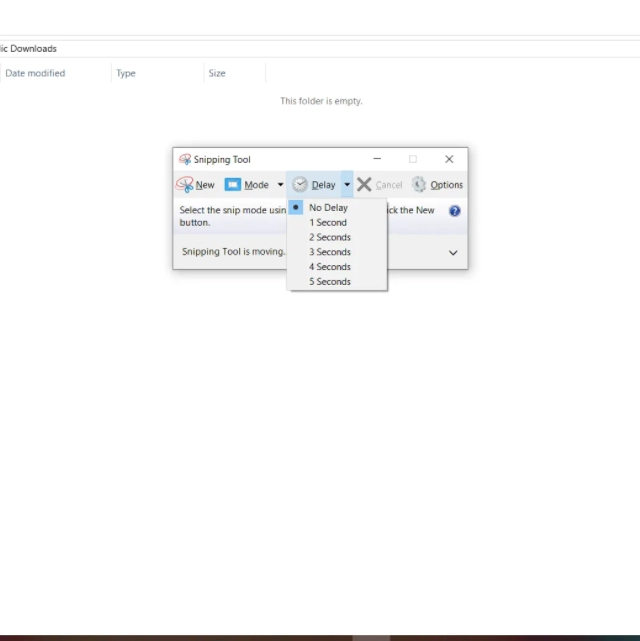
1. Open the Start menu and search for “Snipping Tool.” Click on the application when it appears in the search results.
2. Once the Snipping Tool is open, click on “New” to start capturing a screenshot.
3. Select the desired snip type (Free-form, Rectangular, Window, or Full-screen).
4. Position the cursor at the starting point of the area you want to capture.
5. Click and drag the cursor to enclose the desired region.
6. Release the mouse button to capture the snip.
7. The captured snip will appear in the Snipping Tool window.
8. Click on “File” and select “Save As” to save the snip to your desired location.
Method 3: Windows Key + Print Screen Key
For Windows 8 and later versions, you can use a convenient shortcut that saves the screenshot directly to your computer. Here’s how to use the Windows Key + Print Screen Key method:
1. Ensure that the screen you want to capture is visible.
2. Press the Windows key and the Print Screen key simultaneously.
3. The screen will briefly dim, indicating that the screenshot has been captured and saved to your computer.
4. To access the screenshot, navigate to the “Pictures” folder in your File Explorer. Open the “Screenshots” subfolder, where you will find the captured image.
3. How to Take a Screenshot on Mac OS

Method 1: Command + Shift + 3
Taking a screenshot on a Mac OS is quick and straightforward. Follow these steps to capture the entire screen:
1. Ensure that the screen you want to capture is visible.
2. Press the Command (⌘) + Shift + 3 keys simultaneously.
3. The screenshot will be saved as a file on your desktop with a name like “Screen Shot [date] at [time].png.”
Method 2: Command + Shift + 4
If you only need to capture a specific portion of the screen on a Mac, you can use the Command + Shift + 4 shortcut. Here’s how:
1. Press the Command (⌘) + Shift + 4 keys simultaneously.
2. The cursor will change to a crosshair.
3. Position the crosshair at the top-left corner of the area you want to capture.
4. Click and drag the cursor to enclose the desired region.
5. Release the mouse button to capture the snip.
6. The screenshot will be saved as a file on your desktop.
4. Comparison Chart
| Method | Windows | Mac OS |
|---|---|---|
| Print Screen Key | Yes | No |
| Snipping Tool | Yes | No |
| Windows Key + Print Screen Key | Yes | No |
| Command + Shift + 3 | No | Yes |
| Command + Shift + 4 | No | Yes |
Read More : How to Screen Record on Mac: Ultimate Guide
5. Conclusion
Congratulations! You have now learned multiple methods for taking screenshots on both Windows and Mac OS. Whether you prefer using the Print Screen key, the Snipping Tool, or the various shortcuts on Mac OS, you can capture and save important moments on your laptop screen with ease. Remember to practice these techniques and choose the method that best suits your needs. Happy screenshotting!


