

How to Screenshot on Laptop :: Welcome to our comprehensive guide on how to take a screenshot on a laptop running Windows or Mac OS. In this article, we will provide you with detailed instructions and useful tips to capture screenshots effortlessly. Whether you are a Windows or Mac user, we’ve got you covered. Let’s dive right in!
Taking a Screenshot on Windows
Method 1: Using the Print Screen Key
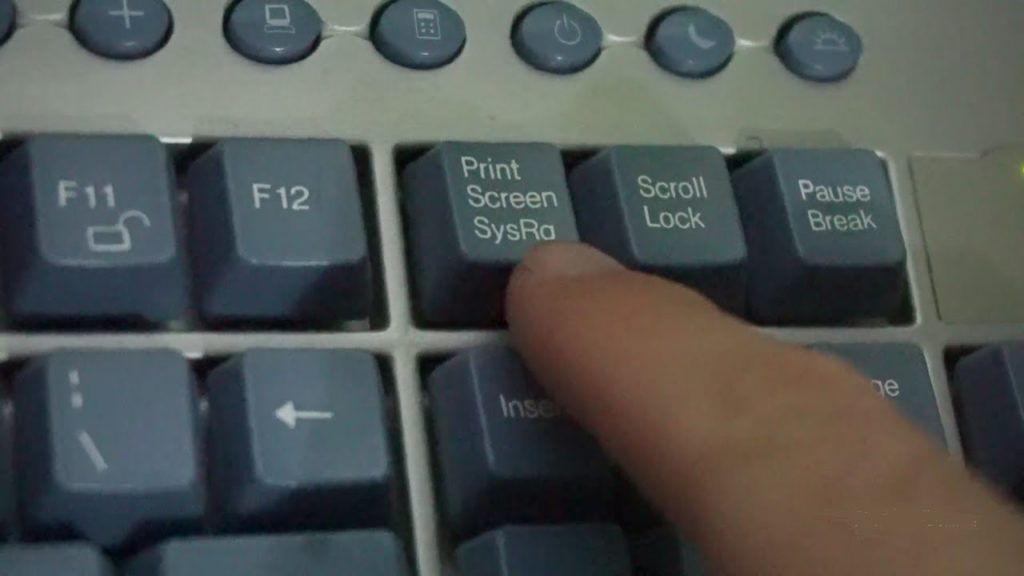
One of the simplest ways to capture a screenshot on a Windows laptop is by using the Print Screen (PrtScn) key. Just follow these steps:
- Find the Print Screen key on your keyboard. It is usually located in the top-right corner, labeled as “PrtScn” or “PrtSc.”
- Press the Print Screen key to capture a screenshot of the entire screen.
- Open an image editing software like MS Paint, Photoshop, or Paint.NET.
- Paste the screenshot into the image editing software by pressing Ctrl + V or right-clicking and selecting “Paste.”
- Save the screenshot to your desired location on your laptop.
Method 2: Using the Snipping Tool
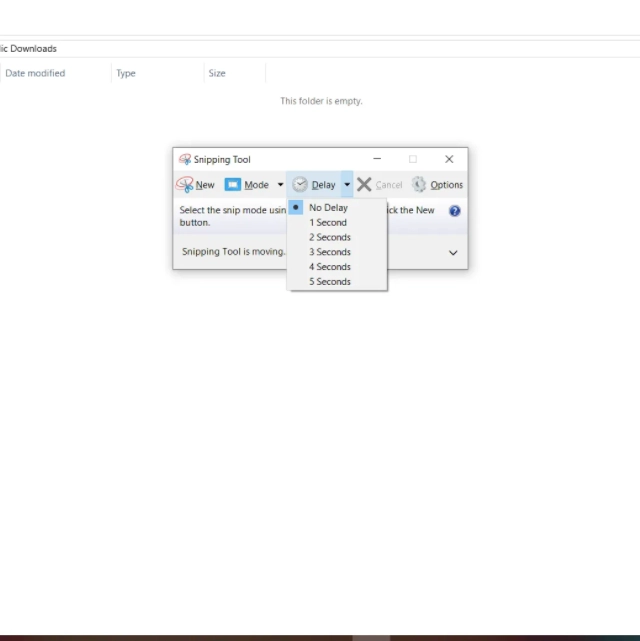
Windows also provides a built-in tool called the Snipping Tool, which offers more advanced screenshot options. Here’s how you can use it:
- Open the Snipping Tool by typing “Snipping Tool” in the Windows search bar and selecting the application.
- Click on “New” in the Snipping Tool window.
- Choose the type of snip you want (Rectangular, Freeform, Window, or Full-screen) and select the area you wish to capture.
- Once captured, you can annotate, save, or share the screenshot directly from the Snipping Tool.
Method 3: Using the Windows Key + PrtScn
For Windows 8 and Windows 10 users, there’s an even quicker method to take a screenshot. Simply follow these steps:
- Press the Windows key + PrtScn simultaneously.
- The screen will dim momentarily, indicating that the screenshot has been captured.
- The screenshot will be automatically saved in the “Screenshots” folder within the “Pictures” directory.
Taking a Screenshot on Mac OS
Method 1: Using Keyboard Shortcuts
Mac OS offers convenient keyboard shortcuts to capture screenshots. Here are the most commonly used ones:
- Capture the Entire Screen: Press Shift + Command + 3 to capture a screenshot of the entire screen. The screenshot will be saved as a file on your desktop.
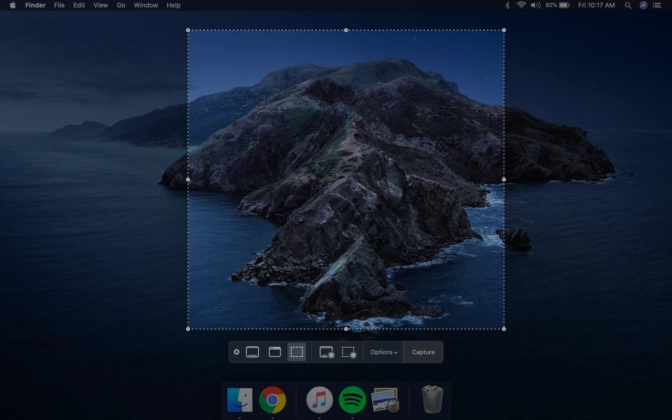
- Capture a Selected Portion: Press Shift + Command + 4. Your cursor will turn into a crosshair. Click and drag to select the desired area for the screenshot. Release the mouse button to capture the screenshot. Again, it will be saved as a file on your desktop.
- Capture a Specific Window: Press Shift + Command + 4 + Spacebar. Your cursor will change into a camera icon. Move the camera icon over the window you want to capture and click. The screenshot will be saved as a file on your desktop.
Method 2: Using the Grab Application
Mac OS also provides a built-in application called Grab, which offers additional screenshot options. Here’s how to use it:
- Open Grab by navigating to Applications → Utilities → Grab.
- In the Grab menu, select the type of screenshot you want (Selection, Window, Screen, or Timed Screen).
- Capture the desired area or window, and the screenshot will open in a new Grab window.
- Save the screenshot to your preferred location.
Read More : How to Copy and Paste on a Mac: A Comprehensive Guide
Conclusion
Congratulations! You have now learned multiple methods to capture screenshots on both Windows and Mac laptops. Whether you prefer using keyboard shortcuts or dedicated tools like the Snipping Tool or Grab, taking screenshots has never been easier. Choose the method that suits your preference and start capturing and sharing screenshots effortlessly.
Remember, the ability to take screenshots is an essential skill for various purposes, including troubleshooting, sharing information, or simply capturing memorable moments on your laptop. Now go ahead and capture your screen with confidence!
Keep in mind that while this comprehensive guide covers the basics of taking screenshots, it’s crucial to consider other factors such as image quality, file formats, and potential variations among different laptop models. Feel free to explore further and experiment with different tools to enhance your screenshot capturing experience.
If you found this guide helpful, please share it with others who might benefit from it. Stay tuned for more useful tips and tricks from our team.
Note: The information provided in this article is accurate at the time of writing. Please refer to official documentation or websites for the latest instructions specific to your operating system version.


